Sunday 23 June 2013

Making an Arts and Crafts Lantern for the Bungalow

I have been looking on the internet for weeks for some appropriate light fittings for the bungalow. I love these beautiful craftsman chandelier lanterns and wanted something similar.  


This picture (below) is from the dining room of the Gamble House, a house built in California in 1908 by the famous architects Greene and Greene.


Because lights can really make a room, they have to be appropriate to the period of the house. Because none could be bought, I finally decided to take a brave step and make my own. I bought some cheap light fittings and took the globes out.


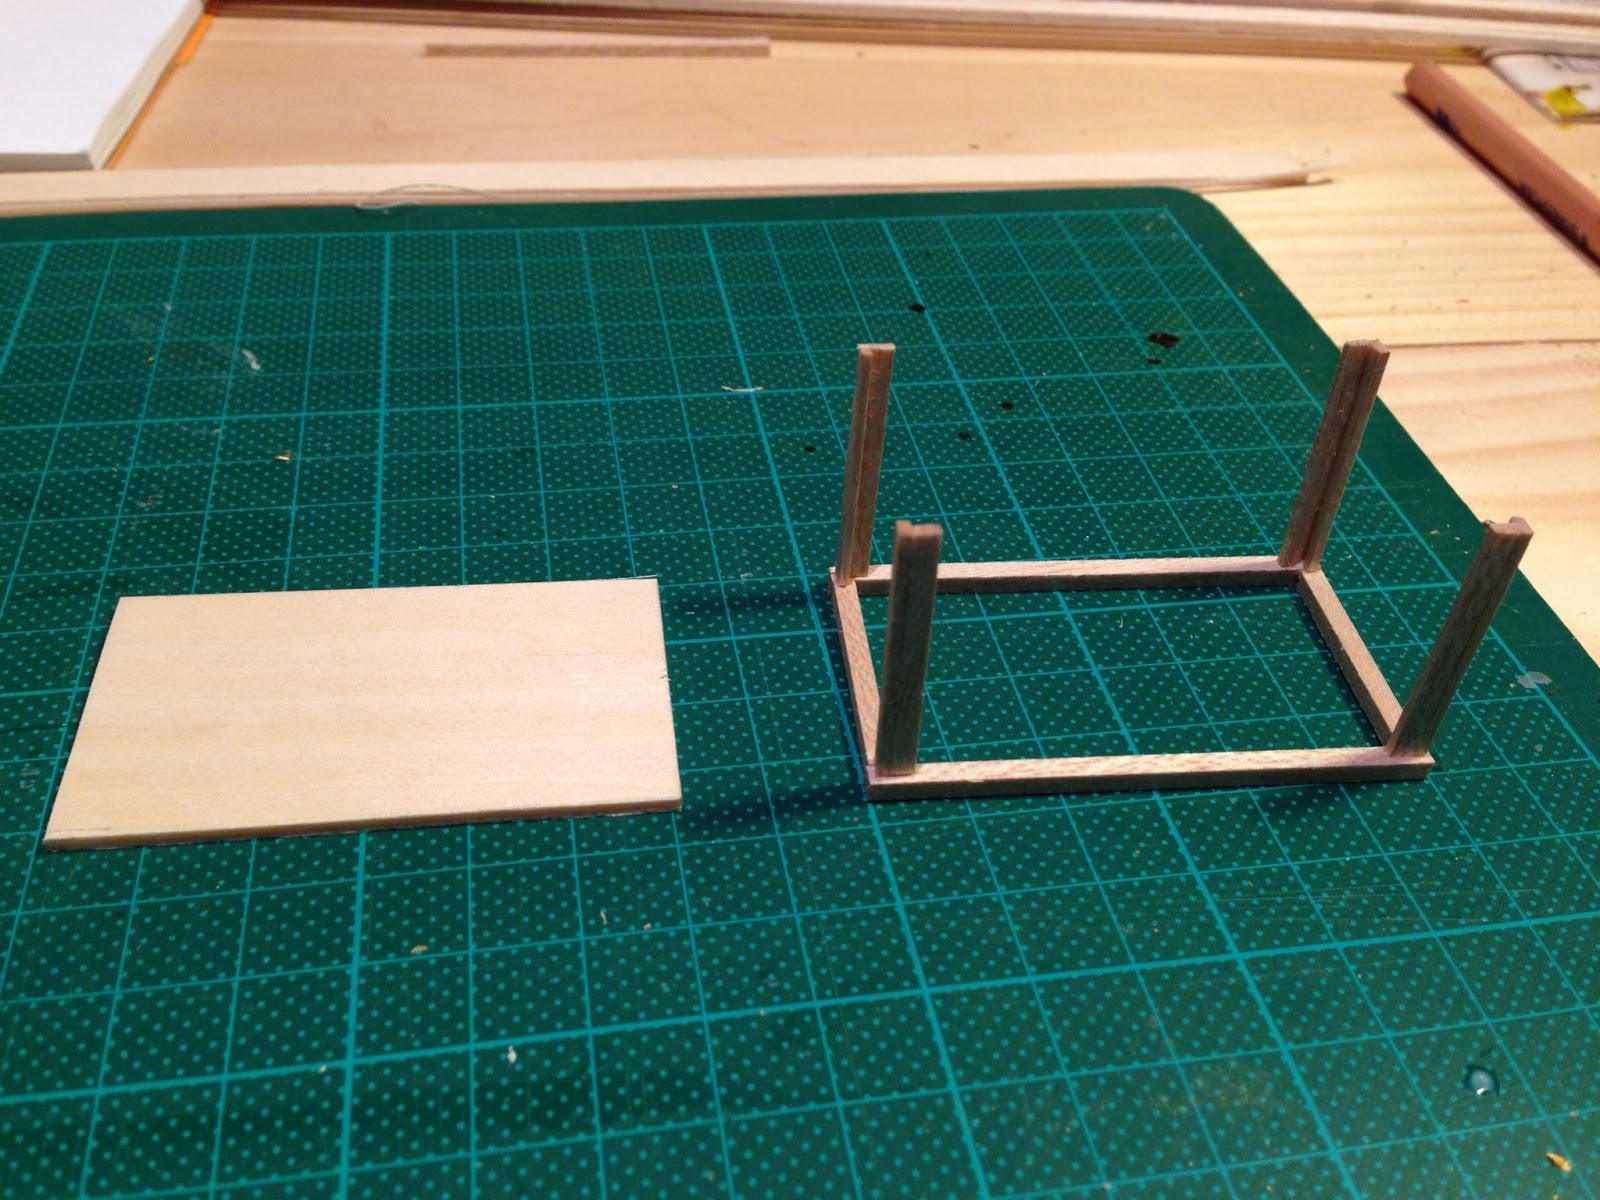
I set about making a lantern chandelier and so started with a box made of balsa wood. 


Instead of using glass I decided to use paper. I don't have the tools to use glass, though I would have preferred it. Next time perhaps...


I then made the lantern top from base wood. 


I also made a ceiling fitting. 


To make the paper look like glass I coloured it with water colour pencils (I used special water colour paper which does not warp) and drew the lead light pattern on with fine line marker. 


I stained the wood in walnut and threaded and fixed in the light globe. 


I glued it all together, but it was quite fragile (I managed to break it twice before it went in to the house).


The finished product worked so well I have decided to make all the light fittings for the entire house!


Saturday 15 June 2013

Ground Floor of the Bungalow Goes Up

This week I made some more progress with the bungalow. Before I glued the ground floor walls up I needed to finish the panelling. 


I cut down the interior wall to make a craftsman style room divider. 


I built up the divider with base wood. 


I made the panelling for the lounge room as well, and stained it to give it a rich wood colour.


I then glued the ground floor walls to the base. I pre-painted the base, though I intend to put down real wood flooring soon.


The struggle to choose the right wall paper continues...


Thanks for all your tips in my last post! They were most helpful.

Saturday 1 June 2013

Dining Room Floor

This week my mum and I made the floor for one of the rooms in the Swedish house. First we cut a sheet of card to the size of the floor in the room. 


Next we drew the pattern the floor boards would take on the card.


It is important to double check that it fits in the room snugly before you start making the floor. 


Then we slowly put the floor together to the pattern with thin strips of wood veneer. We used blonde honey coloured wood for a Scandinavian look. 


It took quite some time, about five days. 


Next we french polished the floor. It would have also looked good raw too. 


The finished product is quite pleasing.