Wednesday, 3 July 2013

Biedermeier Furniture for the Georgian Parlour

I realised the other day that the parlour of my Georgian house has been empty for too long. I built it and never actually got to furnishing it (I think building rooms and houses is my forte rather than furniture).


I didn't want to spend too much, but still wanted something nice which didn't look too factory made/mass produced. So I bought a Biedermeier living room kit from Mini Mundus


It was second hand off eBay, so it was a little old, but all the parts were there. The foam had long since crumbled, so I used some extra packing foam I had lying around instead.


I rejected the upholstery material from the kit because it was cheap nylon and chose instead to use some linen I had from an old shirt. It was the right kind of blue for my parlour. I also did some research and found that Biedermeier sofas often had stripped upholstery. 


The pieces weren't the perfect size, or the best quality wood, so some chamfering and sanding was necessary.


I finished the wood with many coats of french polish.


The finished product fits perfectly with the colour and style of the parlour. I am very pleased it worked so well. 


I am now looking for some little finishing touch accessories to make the room look realistic - vase with flowers, a tea set and cake, and maybe some papers for the writing desk!


This edited picture makes the room look real too, which was fun!

Monday, 1 July 2013

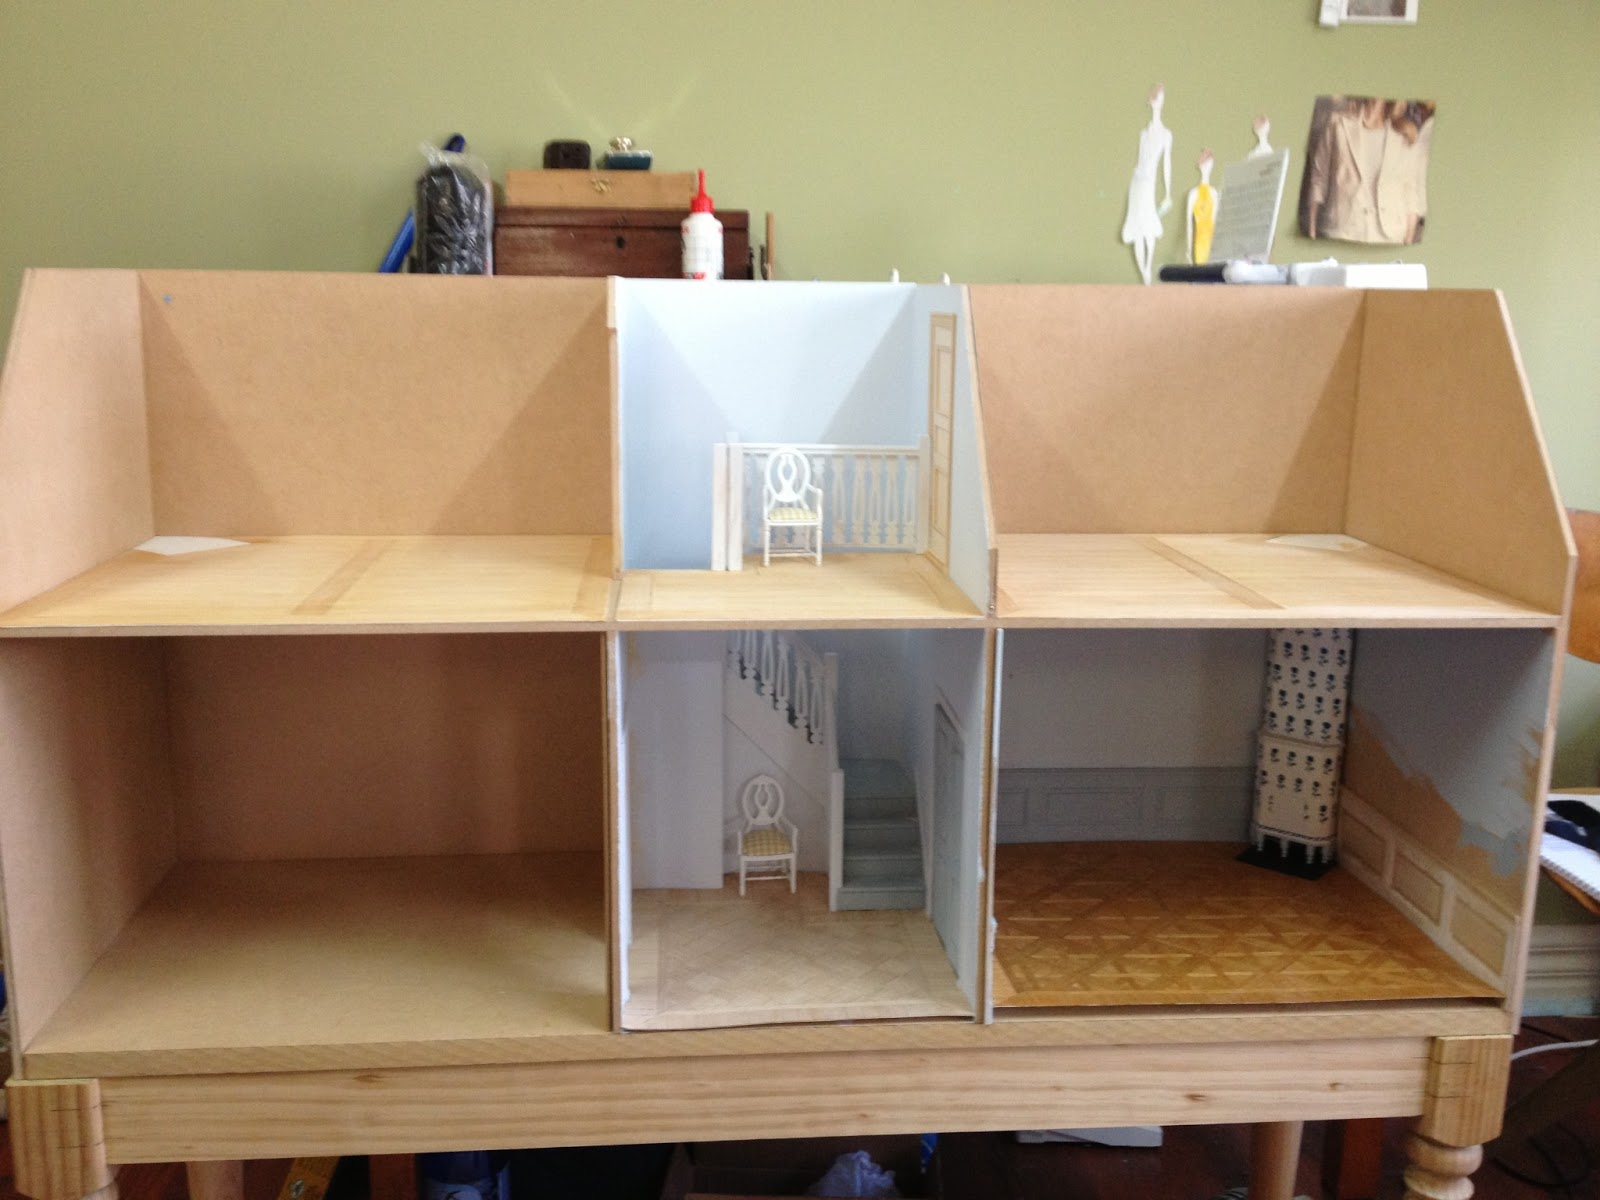
Baltic Pine Floors for the Swedish House

This weekend I spent making the floors for the upper levels of the Swedish house. I decided to go for a plain design of broad boards, common in a lot of farm houses. They often had one broad board cutting through the centre of the room, usually mirroring a beam underneath.


I cut a sheet of card to the size of the room, and began making the floor. I used thin veneer timber of Tasmanian oak. This is a blonde timber, and gave the best imitation of baltic pine.  


I sanded it and and filled the bigger gaps with wood coloured timber filler. 


I gave the floor one coat of french polish which brought out the yellow tones in the wood. I wanted a more weathered and bleached look though, so after the coat of french polish I sanded the floor lightly. This gave a realistic effect, especially around the hearth and door, because I sanded more heavily there.


I then made a typical Swedish three panelled door, using the same technique as the last door I made.


Here is the unfinished door in situ. 


I also made a threshold, and sanded it down for a worn look. This added another element of realism and I was quite happy with it. 


Slowly it is all coming together, not long before the light fittings go in, and I can begin the facade.    


Sunday, 23 June 2013

Making an Arts and Crafts Lantern for the Bungalow

I have been looking on the internet for weeks for some appropriate light fittings for the bungalow. I love these beautiful craftsman chandelier lanterns and wanted something similar.  


This picture (below) is from the dining room of the Gamble House, a house built in California in 1908 by the famous architects Greene and Greene.


Because lights can really make a room, they have to be appropriate to the period of the house. Because none could be bought, I finally decided to take a brave step and make my own. I bought some cheap light fittings and took the globes out.


I set about making a lantern chandelier and so started with a box made of balsa wood. 


Instead of using glass I decided to use paper. I don't have the tools to use glass, though I would have preferred it. Next time perhaps...


I then made the lantern top from base wood. 


I also made a ceiling fitting. 


To make the paper look like glass I coloured it with water colour pencils (I used special water colour paper which does not warp) and drew the lead light pattern on with fine line marker. 


I stained the wood in walnut and threaded and fixed in the light globe. 


I glued it all together, but it was quite fragile (I managed to break it twice before it went in to the house).


The finished product worked so well I have decided to make all the light fittings for the entire house!


Saturday, 15 June 2013

Ground Floor of the Bungalow Goes Up

This week I made some more progress with the bungalow. Before I glued the ground floor walls up I needed to finish the panelling. 


I cut down the interior wall to make a craftsman style room divider. 


I built up the divider with base wood. 


I made the panelling for the lounge room as well, and stained it to give it a rich wood colour.


I then glued the ground floor walls to the base. I pre-painted the base, though I intend to put down real wood flooring soon.


The struggle to choose the right wall paper continues...


Thanks for all your tips in my last post! They were most helpful.

Saturday, 1 June 2013

Dining Room Floor

This week my mum and I made the floor for one of the rooms in the Swedish house. First we cut a sheet of card to the size of the floor in the room. 


Next we drew the pattern the floor boards would take on the card.


It is important to double check that it fits in the room snugly before you start making the floor. 


Then we slowly put the floor together to the pattern with thin strips of wood veneer. We used blonde honey coloured wood for a Scandinavian look. 


It took quite some time, about five days. 


Next we french polished the floor. It would have also looked good raw too. 


The finished product is quite pleasing.