Showing posts with label Wooden Floors. Show all posts

Monday, 1 July 2013

Baltic Pine Floors for the Swedish House

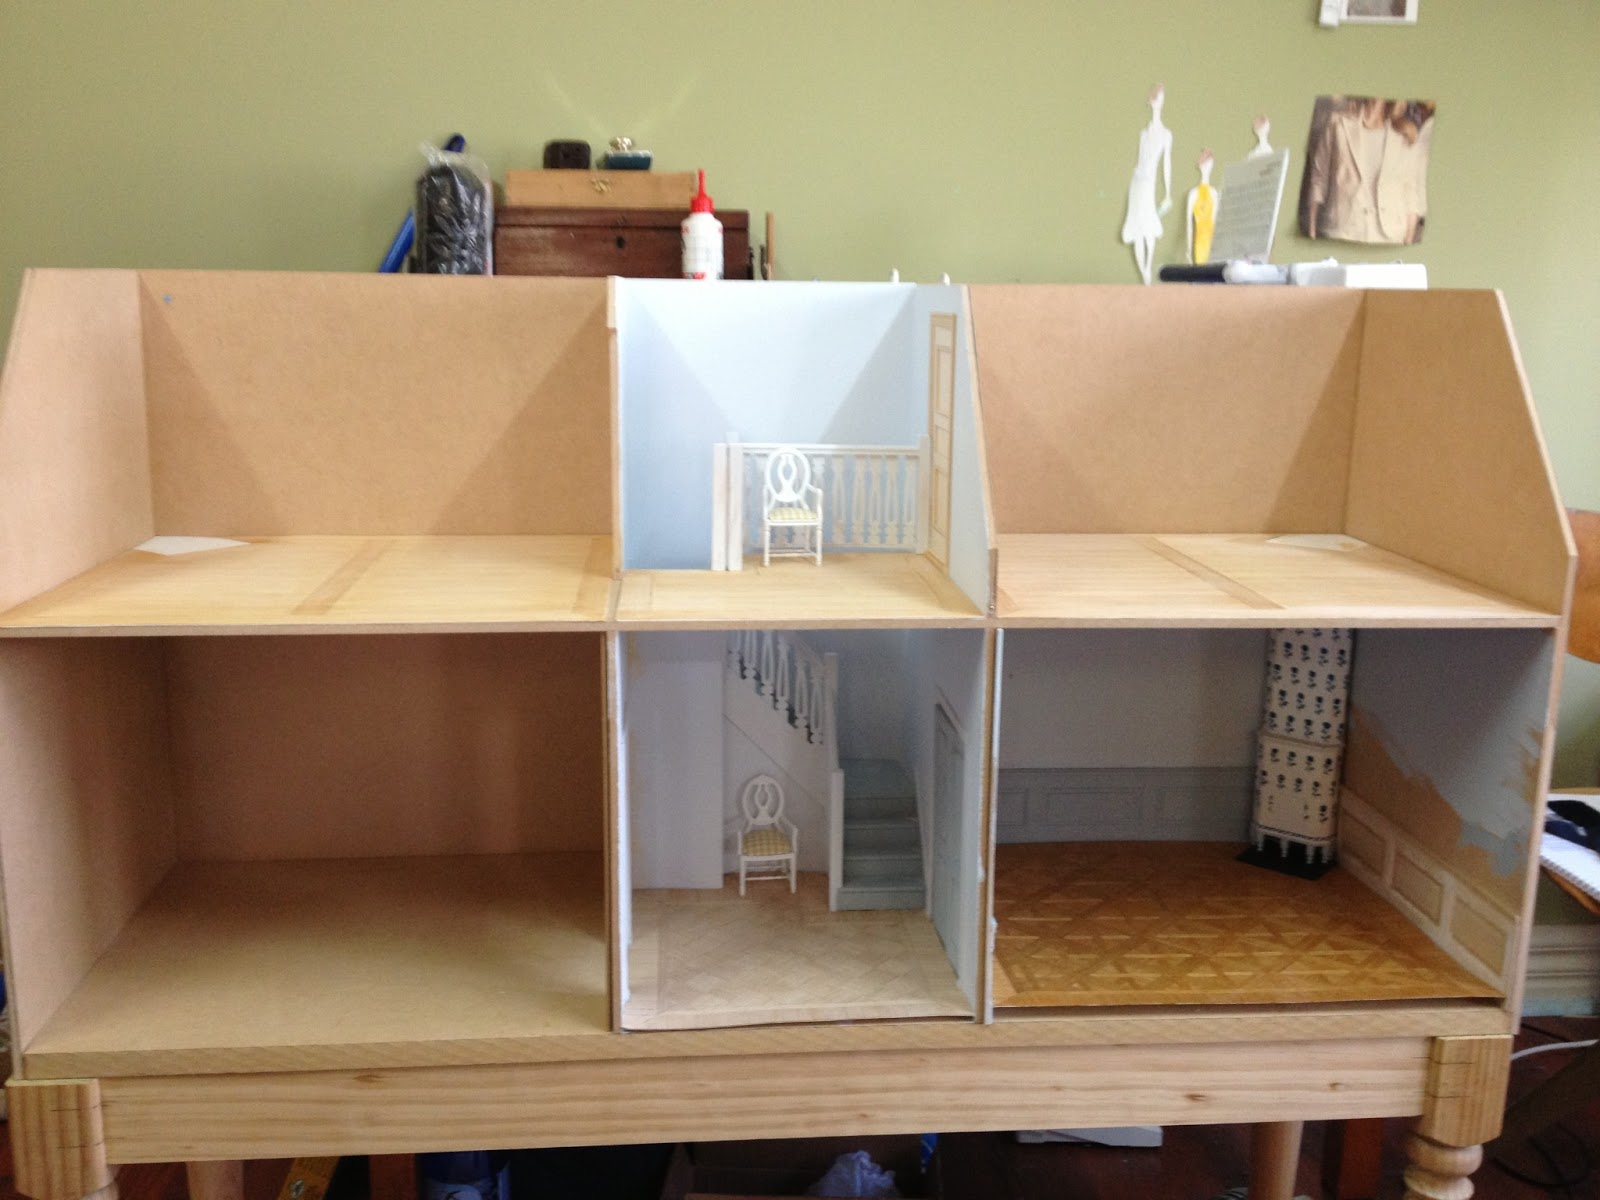
This weekend I spent making the floors for the upper levels of the Swedish house. I decided to go for a plain design of broad boards, common in a lot of farm houses. They often had one broad board cutting through the centre of the room, usually mirroring a beam underneath.


I cut a sheet of card to the size of the room, and began making the floor. I used thin veneer timber of Tasmanian oak. This is a blonde timber, and gave the best imitation of baltic pine.  


I sanded it and and filled the bigger gaps with wood coloured timber filler. 


I gave the floor one coat of french polish which brought out the yellow tones in the wood. I wanted a more weathered and bleached look though, so after the coat of french polish I sanded the floor lightly. This gave a realistic effect, especially around the hearth and door, because I sanded more heavily there.


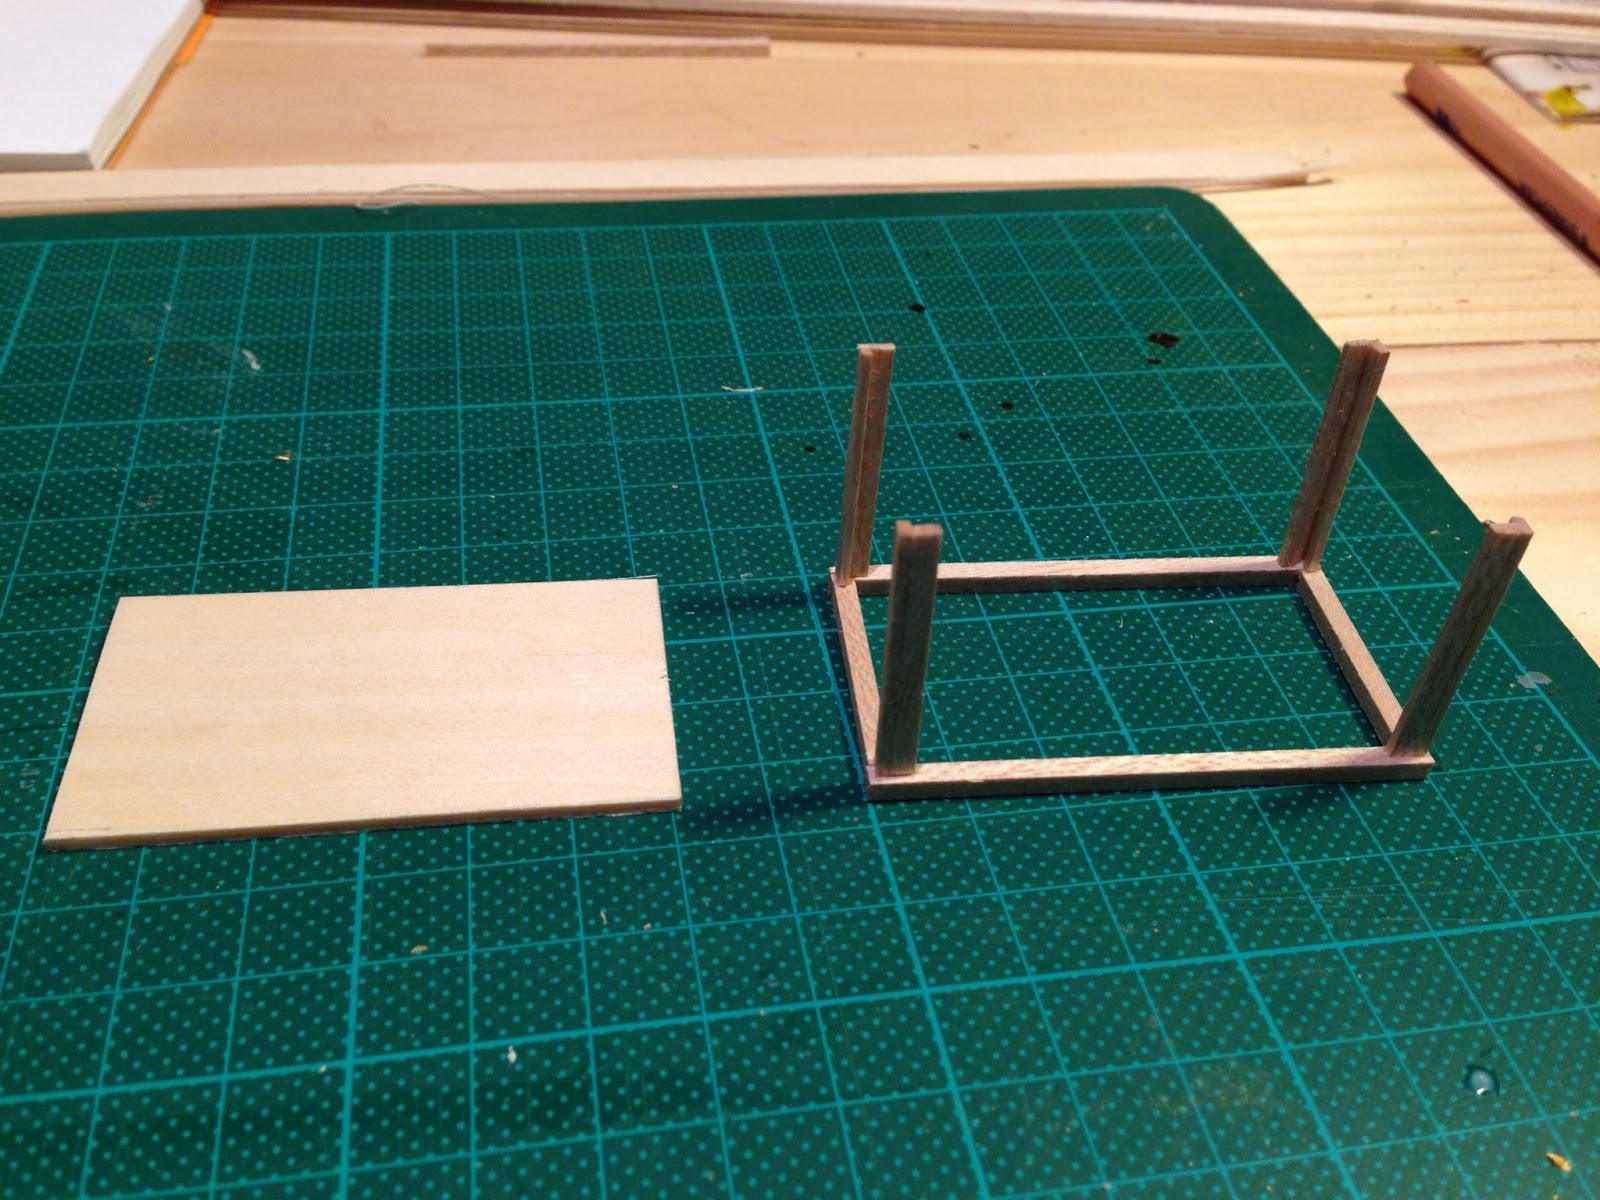
I then made a typical Swedish three panelled door, using the same technique as the last door I made.


Here is the unfinished door in situ. 


I also made a threshold, and sanded it down for a worn look. This added another element of realism and I was quite happy with it. 


Slowly it is all coming together, not long before the light fittings go in, and I can begin the facade.    


Sunday, 23 June 2013

Making an Arts and Crafts Lantern for the Bungalow

I have been looking on the internet for weeks for some appropriate light fittings for the bungalow. I love these beautiful craftsman chandelier lanterns and wanted something similar.  


This picture (below) is from the dining room of the Gamble House, a house built in California in 1908 by the famous architects Greene and Greene.


Because lights can really make a room, they have to be appropriate to the period of the house. Because none could be bought, I finally decided to take a brave step and make my own. I bought some cheap light fittings and took the globes out.


I set about making a lantern chandelier and so started with a box made of balsa wood. 


Instead of using glass I decided to use paper. I don't have the tools to use glass, though I would have preferred it. Next time perhaps...


I then made the lantern top from base wood. 


I also made a ceiling fitting. 


To make the paper look like glass I coloured it with water colour pencils (I used special water colour paper which does not warp) and drew the lead light pattern on with fine line marker. 


I stained the wood in walnut and threaded and fixed in the light globe. 


I glued it all together, but it was quite fragile (I managed to break it twice before it went in to the house).


The finished product worked so well I have decided to make all the light fittings for the entire house!


Saturday, 1 June 2013

Dining Room Floor

This week my mum and I made the floor for one of the rooms in the Swedish house. First we cut a sheet of card to the size of the floor in the room. 


Next we drew the pattern the floor boards would take on the card.


It is important to double check that it fits in the room snugly before you start making the floor. 


Then we slowly put the floor together to the pattern with thin strips of wood veneer. We used blonde honey coloured wood for a Scandinavian look. 


It took quite some time, about five days. 


Next we french polished the floor. It would have also looked good raw too. 


The finished product is quite pleasing. 


Monday, 28 January 2013

Finishing off the Little Blue Attic Room

I finished the blue room in the attic of the eBay house this weekend. It needed a door and a floor. 


For the floor I used pre-bought floor boards, which I decided to french-polish, for a more realistic finish.


French polish is fairly straight forward, you need one part methylated spirit, and about one part shellac. Both these ingredients can be bought at a local hardware store. 


Add the ingredients in a glass jar and allow to dissolve. Leaving the jar in a warm bath of water can help this process.


Then it is a matter of applying. You must apply many thin coats (about 5 for a low sheen). You must let the wood dry in between coats. When applying, never cover the same spot twice. 


In the above and below pics, you can see the before and after.


I added the floor to the blue room and hallway next door. 


Then I added the skirting boards. You must always add skirting boards last after the floor has gone down. This allows for a much larger error margin when cutting the floor to size. 


I prepared the door by drilling a hole for the door nobs. Drilling one hole through the middle means that the nobs will align perfectly on both sides. 


Fitting the door was quite fiddly. I left the pins in place when I pulled the door out of the pre-made door frames. I made a small whole in the threshold and pushed the door in. Because the door is not exactly the same size as the door way the door can be pushed up a little to enable the bottom pin to be fitted. 

It is quite fiddly, but the result is good!


Finally I touched up a few spots with the skirting board paint. 


Tuesday, 16 October 2012

Tiny Architecture Archives

The first two house I built were from American kits by a company called Greenleaf. I liked the kits because the disigns are very nice, and quite authentic. However the quality of the materials is quite poor and the room dimensions a little too small. Now I make all my houses from scratch.

The chair in this picture (below) was made by hand by my mother.

This little table was also made by my mother.


 This little chair (below) was made by my mother as a copy of an original Swedish farm house chair.